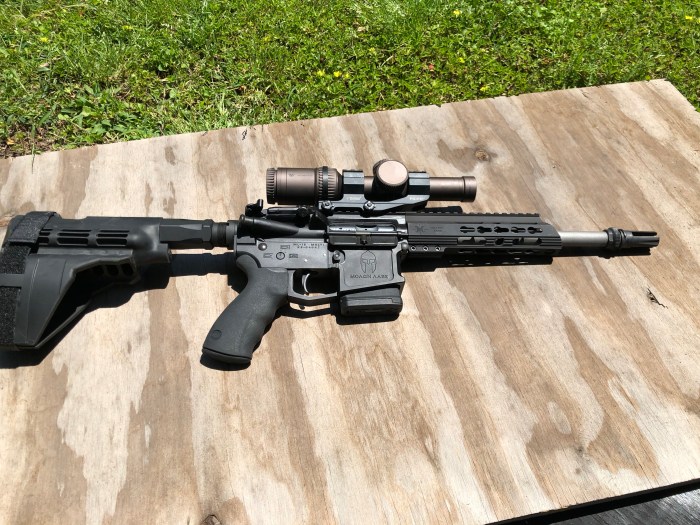
I would guess that the most common thing that people want to change out on their AR-15 (or AR-10) is the handguard. There is an unbelievable number of options out there from a plethora of manufacturers, so the exact method of removal and/or install may vary slightly depending on the manufacturer. The change can be functional (adding keymod, pic rails, etc.), cutting weight, or just to look cooler. This is an easy process and can be done by an amateur in your garage with a few simple hand tools, most of which you already have. Just make sure that whatever handguard you purchase is freefloating, meaning that the only place that it makes contact with the rifle is at the barrel nut. This will ensure that when the barrel heats up, it does not swell, make contact with, and push the barrel causing a decrease in accuracy, and also possibly becoming so hot that it could burn the weak hand grip of the shooter.
Tools you will need:
- AR-15 Armorers Wrench: These are a few dollars, and I highly recommend getting one if you own an AR-15. Between a good set of punches, and this tool, you can do just about anything you need to your AR-15.
- Allen Wrench / Torque Screw Driver / Screw Driver: Depending on what type of screw is holding your handguard, and/or gas block on your rifle or pistol, you will likely need one of these.
- Punches (depending on the rifle & gas system): If you are going to do any kind of work on firearms, then you will need a good set of punches. They are cheap, and if taken care of will last a lifetime. I have a nice set, and a set from Harbor Freight that I can abuse.
- Bench Vise: Having a bench vise makes this process much easier, but is not absolutely necessary. However, having some method to securely hold the upper receiver while you are screwing the barrel nut on is a must. Keep in mind that whatever method you use must not damage the receiver or other parts. I would highly recommend using a bench vise.
- AR-15 Vise Block: Again I’ve seen people doing this by placing an (obviously empty) magazine in their vise, and then securing the rifle to the clamped magazine by sliding the magwell over the magazine. However, I highly recommend getting a set of vise blocks that are specifically made to fit the upper and lower receiver of an AR-15. They are available for pretty cheap online.
- Loctite or similar thread locker. Don’t use the stuff you have to heat to remove.
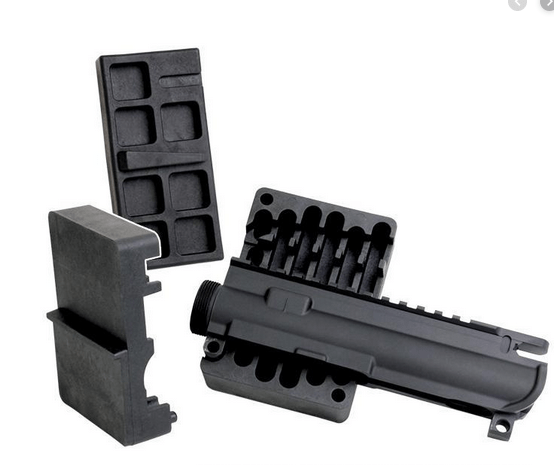
Gun parts you will need:
All the stuffs, and things that come with the purchase of a new handguard.

All the Stuffs
- New Handguard;
- Barrel Nut;
- Screws/bolts, etc. (whatever is used to secure the handuard itself to the barrel nut)
Step 1: Remove the existing handguard
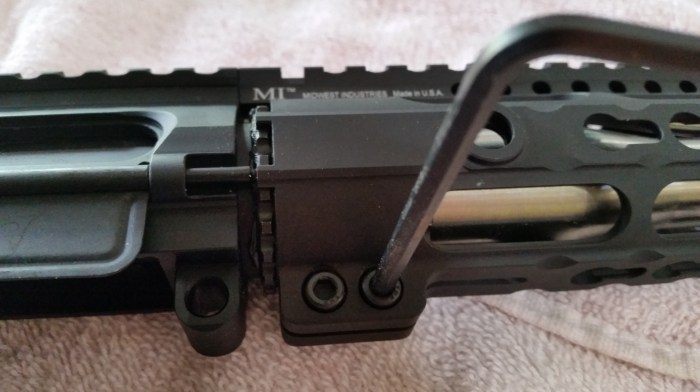
This Midwest Industries rail only requires the removal of two hex screws
This is usually a set of screws, and simply sliding the handguard off of the barrel nut and over the gas block and muzzle device. Sometimes the muzzle device will need to be removed to allow the handguard to clear it, but most of the time it will not. See Step 2 & 3 below if you will need to remove the muzzle device or the gas block & barrel nut.
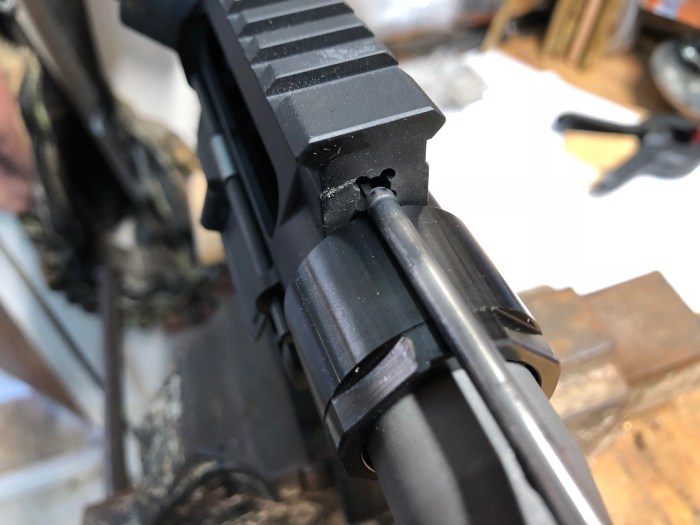
For reference in the picture below, my finger is pointing to the barrel nut:
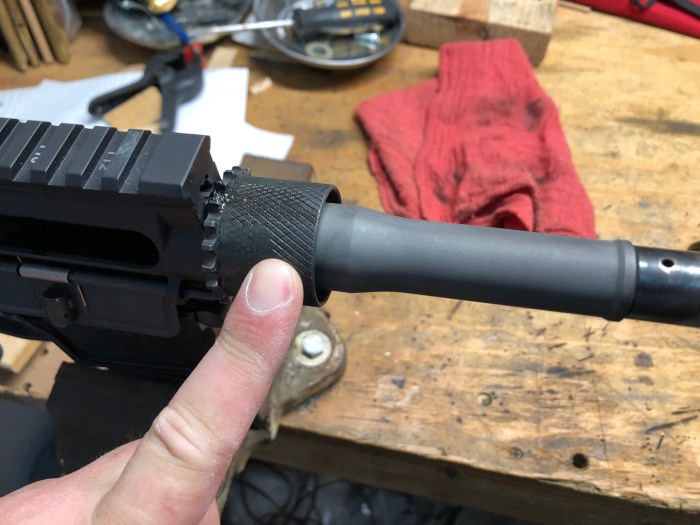
I’m pointing to the Barrel Nut
Step 2: Remove the muzzle device


**NOTE: ONLY DO THIS STEP IF IT IS NECESSARY FOR THE OLD AND/OR NEW HANDGUARD TO CLEAR THE MUZZLE. For this all you need is a regular adjustable wrench, but most armorers wrenches have a slot that will fit the muzzle device’s bolt slots. I slide a piece of paper over the muzzle device to ensure that I don’t damage the finish. Simply, unscrew the muzzle device, and remove the crush washer. Note, that it is best to install a new crush washer, and not reuse the existing one.
Step 3: Remove the gas block
Every handguard that I’ve encountered came with its own barrel nut. If the barrel nut that your new handguard is using is the same as the one that you removed, then this step is not necessary. You would simply slide on the new handguard over the barrel, and secure it to the barrel nut according to its design (i.e. threading it over the barrel nut, inserting retention screws, etc).
Likewise, many handguards that I’ve encountered use a proprietary barrel nut. As a result, you will need to remove the barrel nut, and replace it with a new one. In order to do that, you will need to remove the gas block along with the gas tube in order to get to the barrel nut. Don’t be intimidated, if you can tap something with a hammer, then you can do this.
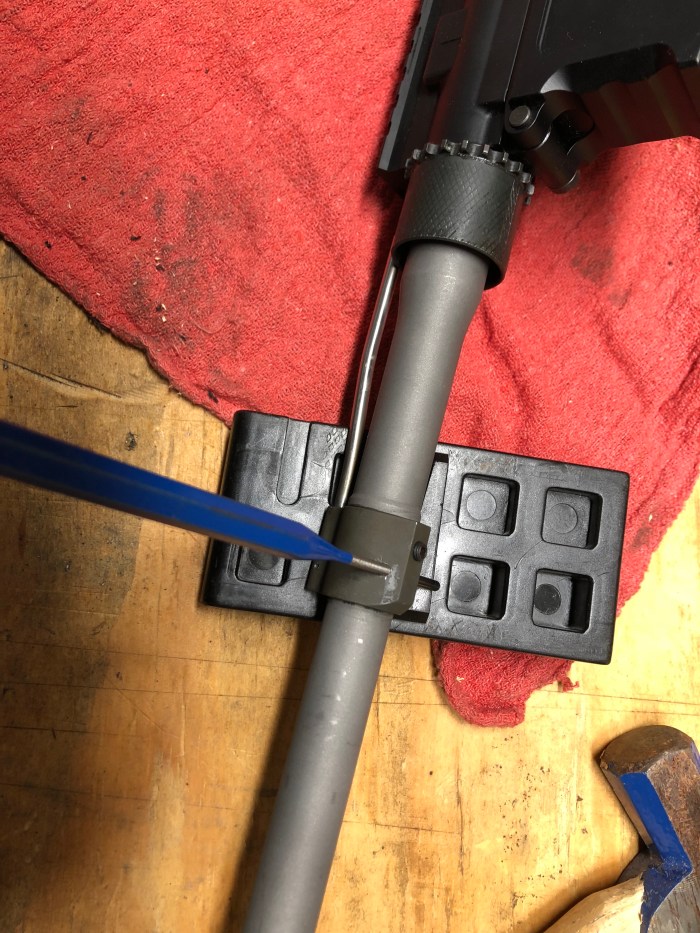
Either unscrew the set screws securing the gas block to the barrel; or as is the case with the pictured Noveske gas block & barrel, you must drive out a roll pin that mates the gas block and barrel, then remove a set screw.
To remove the gas block, all that is usually required is to remove a few set screws from the bottom of the gas block, which secures it to the barrel. In this case the Noveske gas block uses a large roll pen to secure the gas block in place; therefore, it is necessary to drive out the roll pin, then remove the set screw before removing the gas block.
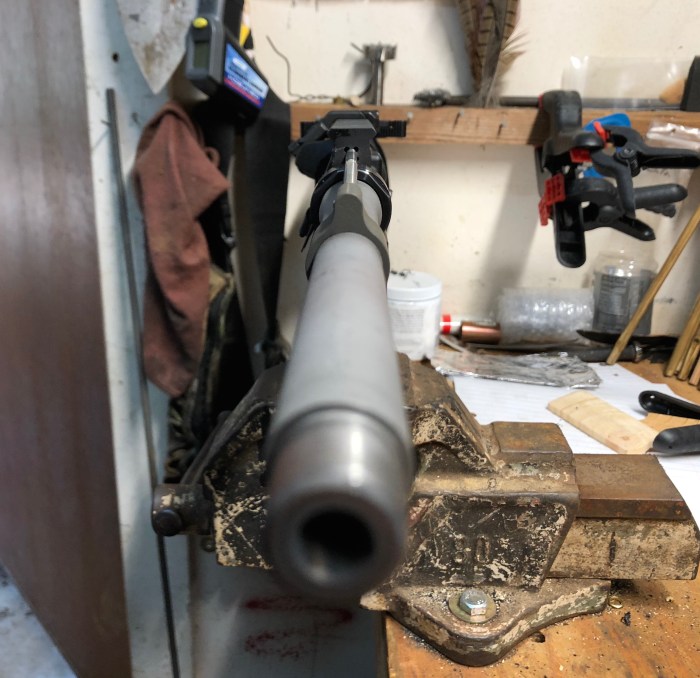
Remove the gas block and the gas tube together by sliding it off of the end of the barrel. At this point it is a good idea to inspect the gas hole and remove any carbon build up, and other gunk to allow for the best possible fitment of the block & barrel when you re-install. This AR-15 pistol is a .300 blackout that was run suppressed, so it’s good and dirty.
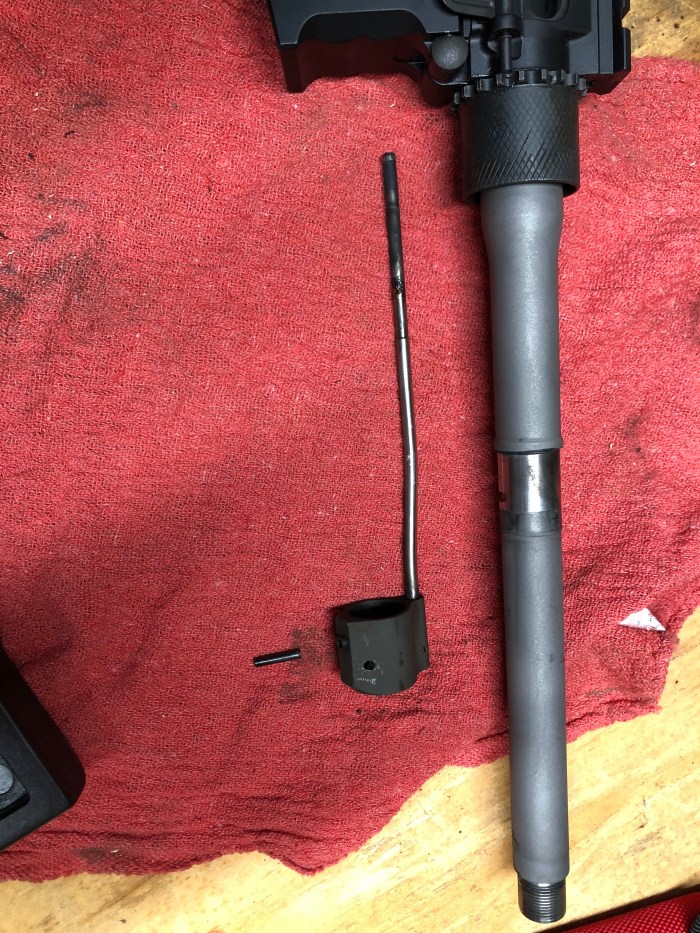
As you can see once the gas block & gas tube are removed, they have a good bit of carbon & powder residue. This is a good time to clean all this crud off before re-installing everything.
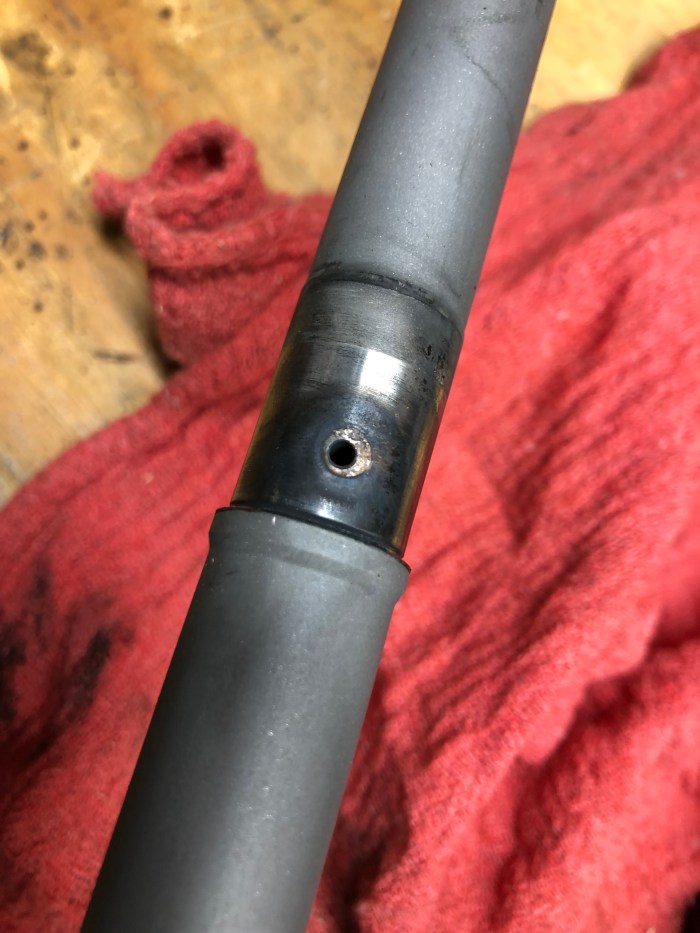
Check to make sure there are not obvious gas leaks.
Step 4: Remove the existing barrel nut
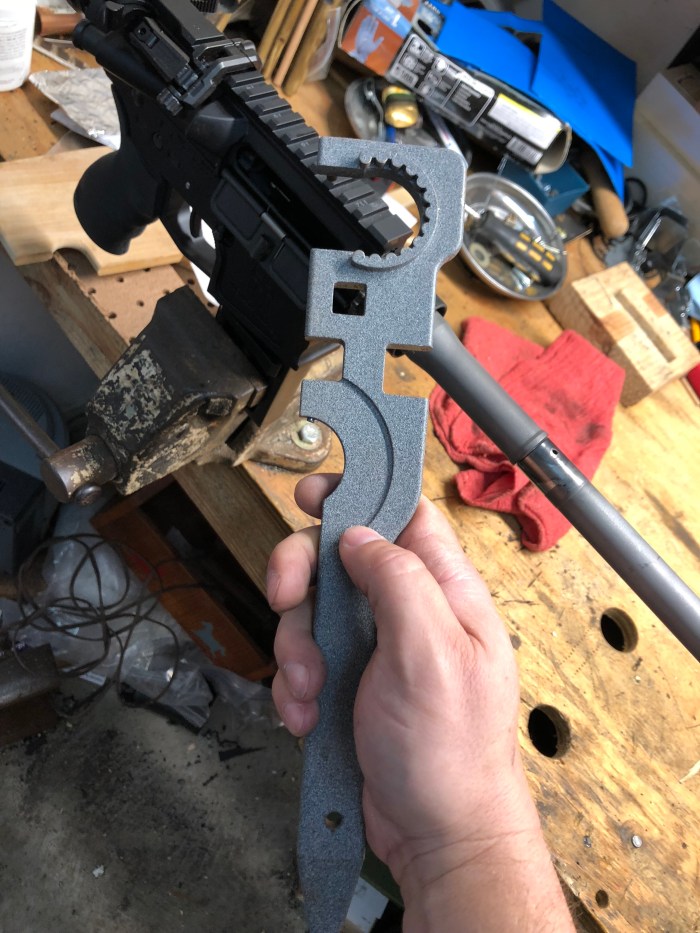
Use Armorer’s Wrench to remove the existing Barrel Nut
This part is pretty simple. Use an Armorer’s Wrench (pictured above) to remove the existing barrel nut. Righty-tighty, lefty-loosy!
I hope for your sake that whomever originally installed it used some form of molly grease, or the like so that it isn’t impossible to get off (been there before…sucks).
Step 5: Install New Barrel Nut:


Smear some new moly grease on the receiver threads to prevent it from ceasing up if (when) you need to remove the barrel nut. It doesn’t take much. Slide the new Barrel Nut over the barrel, and hand tighten the new Barrel Nut on the receiver. This is what holds your barrel on, so don’t strip the threads or you will be in the market for a new upper receiver.
Then using an Armorer’s Wrench, adjustable wrench, or the wrench supplied with the handguard (some companies use a proprietary wrench that comes with the purchase of the handguard), simply tighten the barrel nut in accordance with the factory specs. I usually just use some Kentucky Windage here, and put it on “pretty tight,” because I don’t have a torch wrench.
Step 5: Reinstall the gas tube & gas block:
Slide the gas tube back into the gas tube hole in the upper receiver
Make sure that the gas block & gas tube are properly aligned with the barrel, and any inset screw holes, etc. in the barrel


Secure the gas block in place in whatever manner it has been designed (apply thread locker to any set screws, and pin to the barrel if it is built that way).
Step 6: Slide on new Handguard, and secure in place:
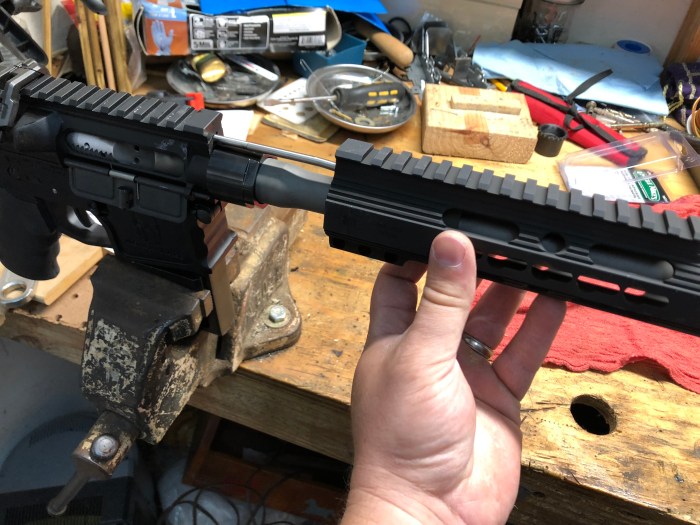
Being careful not to damage anything or scrape the barrel, gas block, etc., slide on the handguard
If using a monolithic rail, be sure to line up the receiver rail with the handguard.
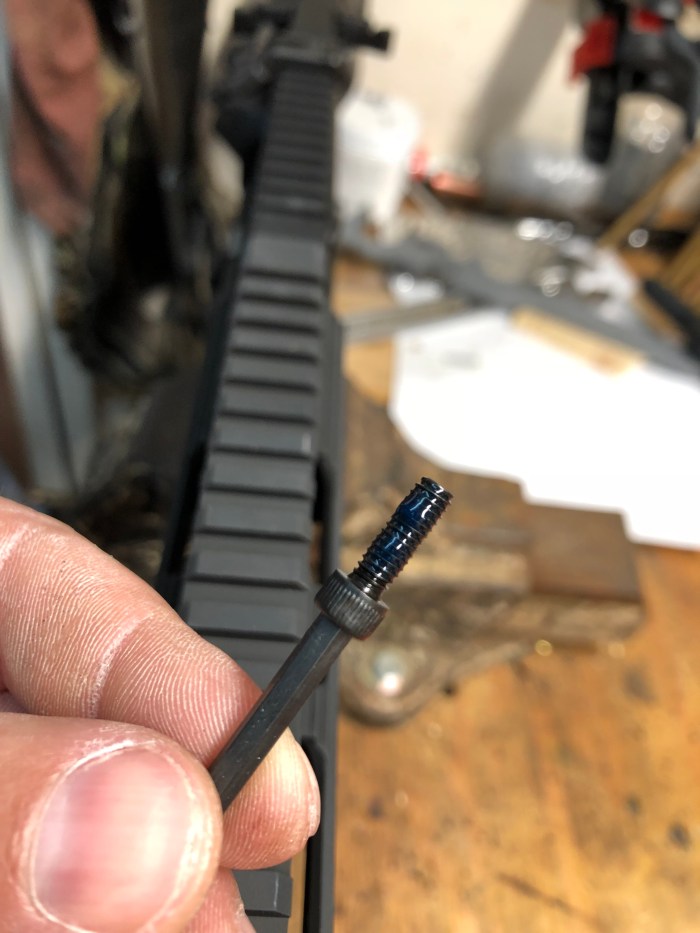
Once in proper alignment, use thread locker, and secure the handguard in place using the provided set screws.
Step 7: Re-install muzzle device:


Simply reinstall muzzle devise, using a new crush washer (if applicable). Also keep in mind to properly align any ports or flash hiders, etc. in the proper position to ensure that your barrel recoils in the proper direction.
Step 8: Shoot copious amounts of ammo & be awesomer than your friends.
Even though this isn’t my pistol, I still got to run it suppressed, and waste some .300 AAC ammo…all in the name of science. I mean, I had to make certain it was safe, right?

Leave a comment