
Cheap, quick, easy targets for around $0.31 each (plus tax). I started shooting USPSA a little while back, and immediately began looking for regulation sized targets to use in live fire, and dry fire practice. Of course, no one had them in stock, and most places looked at me like I was special, and said they didn’t know what USPSA was when I asked if they sold targets.
I found regulation targets online for purchase, but they were roughly $0.50 each. Not only that, because of the size of the targets, the shipping costs would almost double the cost to anywhere from $0.80 to $1.00 per target. I shoot with at least one other person, and sometimes more, so you can imagine three guys shooting 100-200 rounds each once a week could eat up some targets. Setting up 6-8 targets per live fire session is money I could be spending on ammo or beef jerky!
I had a thought… “Why in the hell do men have nipples? We have no use for such an organ”….Then I had another thought… “These targets are just cardboard, I should be able to make them for pretty cheap!”
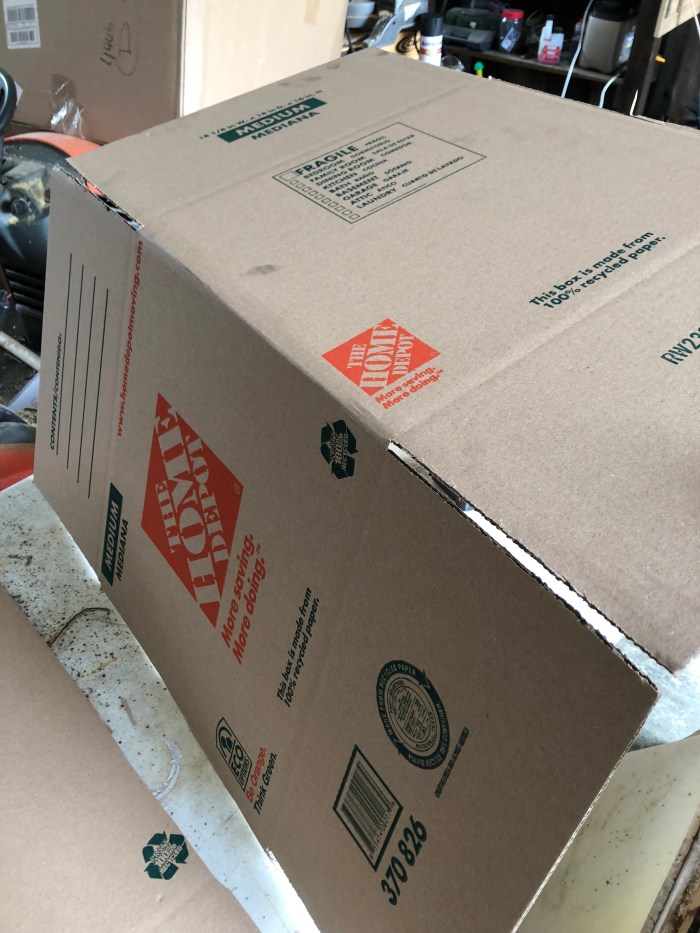
I went to Home Depot, and found some cardboard boxes for $1.24 each. They are the Medium (18″X18″X16″) boxes.


I measured them, and the size would accommodate the outside dimensions of a standard USPSA target (18″ Wide X 30″ Tall).
Here you can see the dimensions of a USPSA Target converted from millimeters to inches.
He>i
What You Need:

- Size Medium (18″x18″x16″) Box (1 box will make 4 targets)
- A Pencil or Marker
- Box Cutter
- Ruler or Tape Measure
- Some form of Strait Edge
- A Square is helpful, but not necessary
Step 1:
Cut the box in half along the fold line.
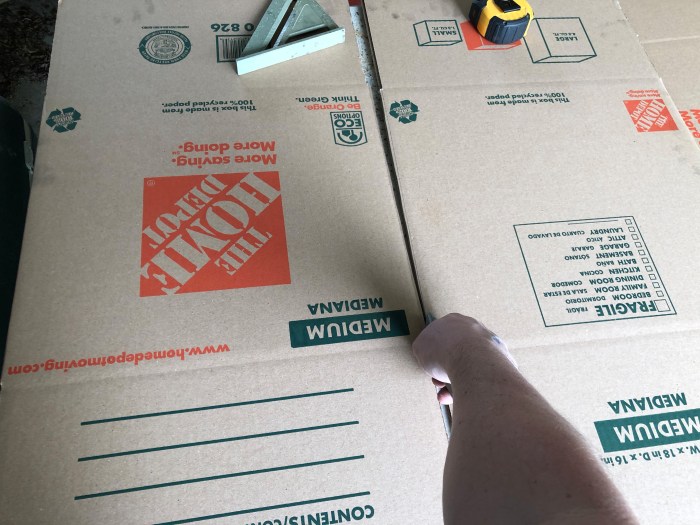
After you cut the box in half, don’t separate out the halves yet. Leave each half with the fold connected, because it’s easier to trace the target and cut out twice instead of four separate targets.
After cutting in half, leave the fold in place so it’s easier to trace and cut out later
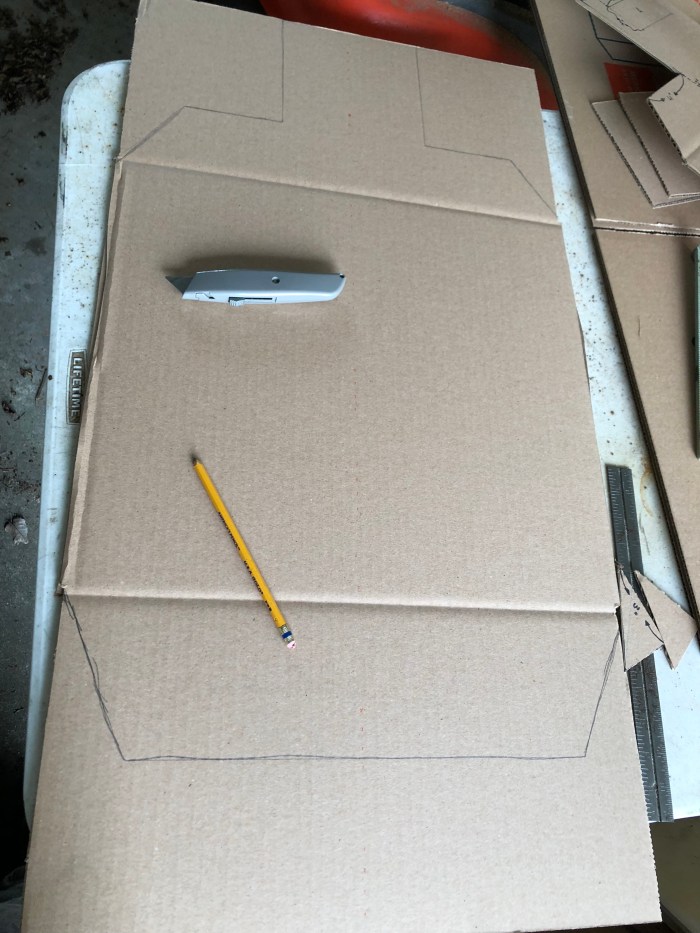
Step 2:
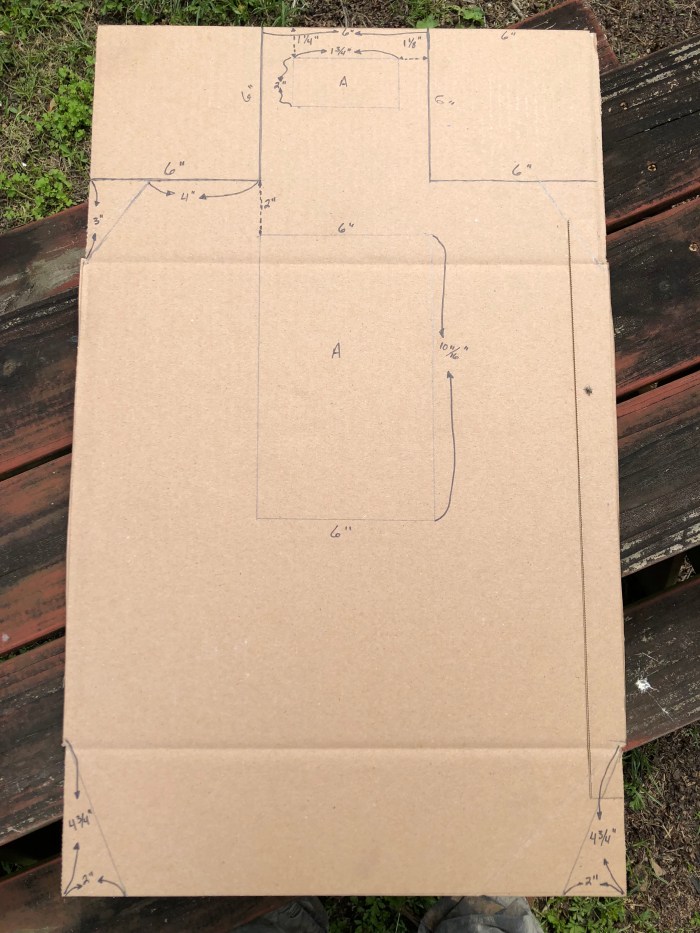
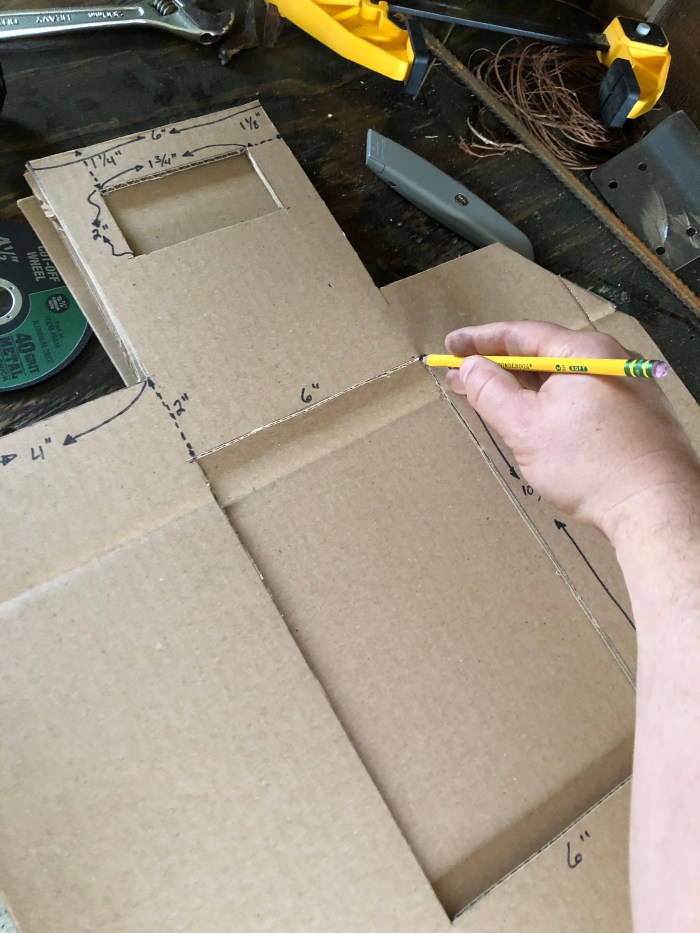
Measure out the dimensions as shown below. It’s not shown below, but the measurement from the top of the head to the bottom of the target is 30″.
Measure out according to these measurements
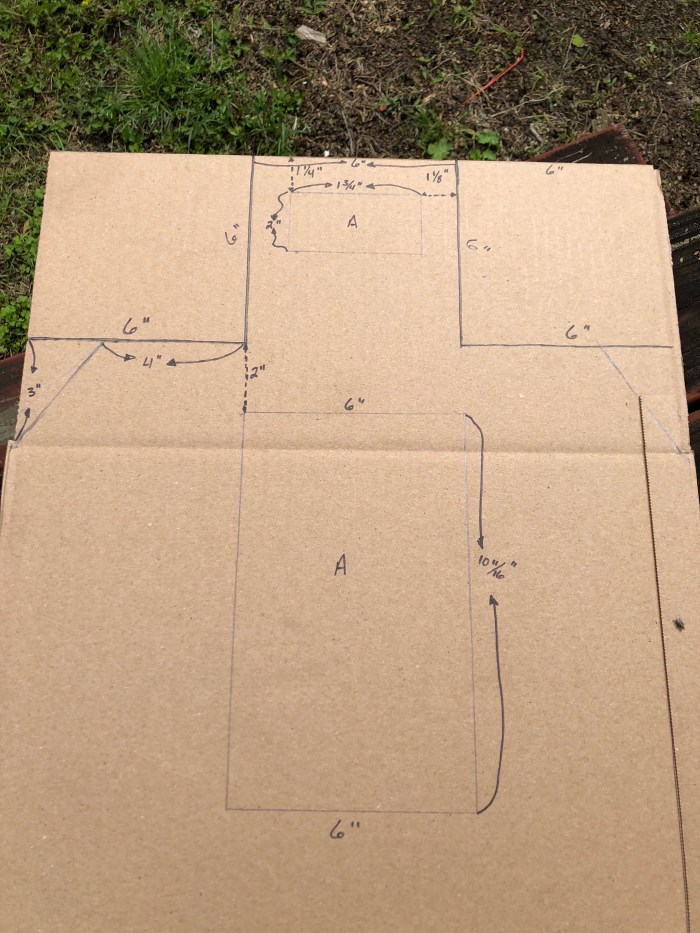
A little closer look at the top measurements
Step 3:
Make your cuts. Cut out the target, and cut away the “A” zone from the head and body.


Using a strait edge aids in making strait cuts. What you’ve just cut out is now your template going forward.
Every target you make from now on will require no measuring!
Step 4:
Simply place the template over the remaining half of the box, trace around the outside, and cut away the excess.
You can then trace out the “A” zone so you can score your hits later.
Tracing out the “A” Zone
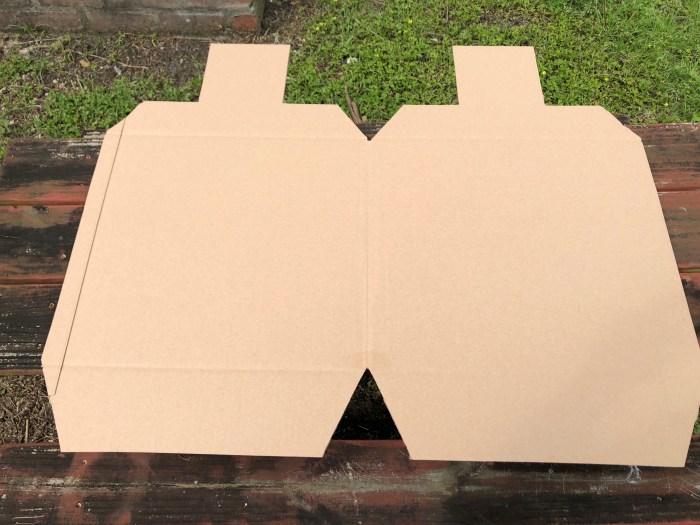
I don’t do a “C” zone, because in my practice if it isn’t an Alpha, then it’s a Mike. You should be left with two connected targets like this:
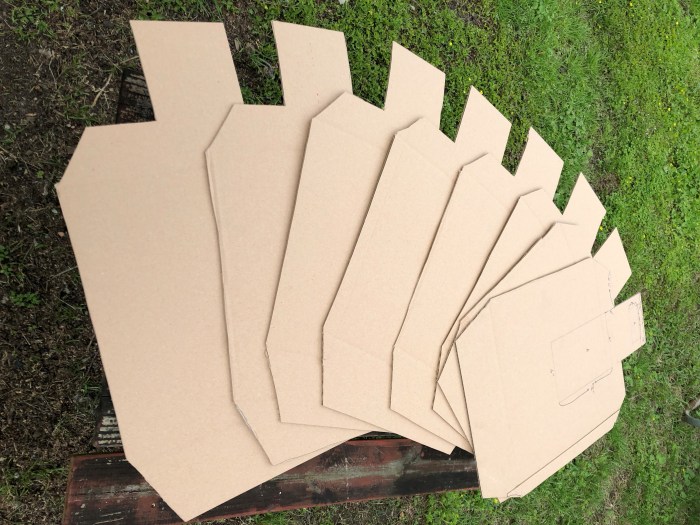
Two Boxes = 1 Template & 7 Regulation Sized Targets with Alpha Zone Lines for $2.48 (+tax)
Check out Making USPSA Target Stand for how to make the metal stands to hold these targets in place during your live or dry fire practice session.

Click here for Making USPSA Target Stand
Bonus Tip:
- These work great for dry-fire practice targets as well as live fire practice.
- If you don’t have pasters, just use some tan colored freezer tape. It’s cheap, easy to find, and it works fine for practice.
- If you halved all of the dimensions given in this article, you could easily make Half Sized USPSA Targets for dry-fire practice or live fire practice.
- If you want to make a separate template and cut out the “C” zone, the official dimensions as per the USPSA handbook (last updated 2014) are below:


This is awesome! Reposting this
LikeLike
Re-post away! Glad you enjoyed it.
LikeLike
Fantastic!!! Now I know what to do with all the boxes I just used to move!
LikeLike
Shoot them! Shoot them with reckless abandon! (but shoot responsibly, and don’t be reckless…or use abandon when using a firearm…on second thought, don’t listen to anything I say)
LikeLiked by 1 person
Just found your article and its like you were a savant….the B zone is gone now so you not including it was a nod to the future LOL. Thanks for the article, I live in the middle of nowhere WI and getting targets to use is quite a hassle
LikeLike
Thanks for the comment. Hope to get to shoot a match with you someday.
LikeLike
Just found your article. I can save you even more money. I go to Costco and Sam’s Club and get their cardboard for free. They like it because they don not have to pay to dispose of it. I use some as standard target backing (which is around the same price as the USPSA targets) for paper targets. Then I use some to cut my USPSA and IDPA targets.
I hope this was useful
LikeLike